Walking Foot Stitching with the Kismet Thread Collection from Aurifil
- Sep 24, 2020
- 4 min read
I'm so excited to offer you this project with the

Kismet Thread Collection that has been created by Aurifil to complement Tamarinis beautiful line from Island Batik. First, I'm thrilled to say that this thread collection is gorgeous. I couldn't have picked a better set if they had offered me the honor of putting together colors for you. Second, this set is done in 28 weight, which makes these threads bold and eye catching even against the brilliant gem stone qualities of the Kismet line of batiks. Finally, as soon as I saw them, I thought of how much fun they would be for straight line quilting with the walking foot. I am not disappointed and you won't be either!

I got this happy little package in the mail and started dreaming up a simple pieced project that would show off the value of these threads in this heavier weight. I don't often quilt with anything heavier than a 30 weight, but a 28 weight is not a great difference. In testing the strength of the thread, I found that it balanced well in the top and in the bobbin and held up extremely well in a tension test, so I wasn't at all concerned about quilting with it. Then I got this glorious idea for a walking foot project and started cutting out the last of my Kismet fabrics.
Here's what you will need:
4 squares measuring 6" x 6"
4 rectangles measuring 6" x 2 1/2"
4 rectangles measuring 8" x 2 1/2"

1. Determine a pleasing layout and begin stitching your sections together.
I worked in quadrants like I was making a large 4 patch.

2. As you add the 6" x 2 1/2" rectangles, press towards the rectangles.

3. As you add the 8" x 2 1/2" rectangles press toward the center.

4. Stitch together your quadrants to finish the oversized block. Your finished piece will measure 15 1/2" x 15 1/2".

5. Mark your piece with straight line designs. I love using my Quilter's Select rulers for this since they don't slip easily and I can see the measurement lines very clearly. My chalk marking pencil showed up beautifully on all of the fabrics I chose. I was aiming for an impression of the Art Deco era as I worked on the designs.

I also aimed for easy designs, simple angles and regular spacing. I occasionally set up instances in which the angled lines would bisect the straight lines.

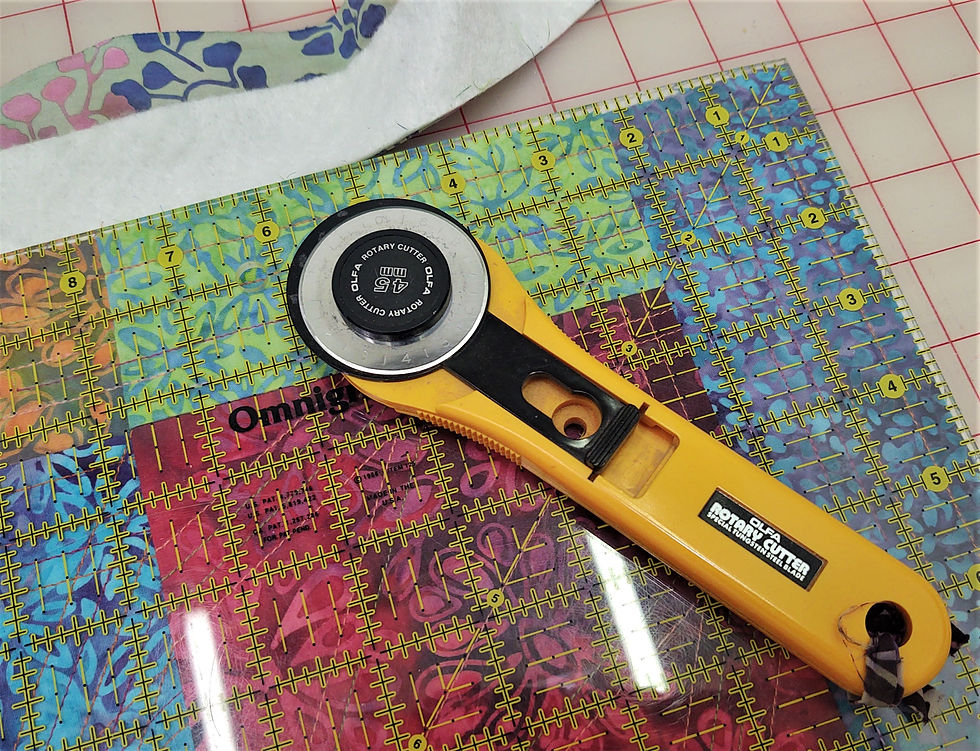
6. Next I created my quilt sandwich, taping down and oversized backing scrap and layering with a left over piece of batting. Here I'm using the 100% bamboo batting from Winline Textiles, which some of you know I'm fairly in love with. I pinned lightly with safety pins and headed to the machine.

7. Attach the Walking Foot to your machine. If you haven't used your Walking Foot before, the benefit of attaching it is that it behaves like a set of feed dogs for the top of your fabric, helping a quilt sandwich to move evenly through the machine and give you perfect stitches.
To get the best tension from your threads, it's always a good choice to load the same weight of thread in the bobbin as in the top thread. With that in mind, I wound a partial bobbin of each color of thread I chose for this project.

8. Begin stitching. Work from the center outwards as much as possible. Choose color sets that pair well with each other and stand out on the fabrics you're stitching.
Tip: use a test sandwich to see how well you're manipulating your stitching. With a Walking Foot, you want to just act as a guide for your quilt sandwich, allowing the feed dogs to pull the sandwich through the machine at their own pace.

9. Use a self threading needle to bury your thread tails as you move through the project. I try to bury my tails into an area that I'm going to stitch over next, so the buried tail will be locked into place a little more securely with the future stitching.
10. Trim the finished piece, taking care to be as square as possible.
Bind in your favorite fashion. See my video on turning corners if you like a clean, well mitered, flat corner.
I'm going to use this project as a cute little table topper as shown in the image at the beginning of this blog. It's perfect to brighten up the breakfast table or put a pop of color on the patio for happy hour. This simple concept is also fabulous to repeat several times and make a bright and happy throw. The sleek lines created with a Walking Foot and some simple marking really show off the thread and allow it to become an equal partner with the fabric. Thank you Tamarinis for another beautiful fabric line and thank you for partnering with Aurifil to bring us this fabulous thread collection that is nothing short of stunning on your fabric!
Get that Walking Foot out quilty friends and be sure to share your own amazing creations with me when you're done!


ThePaint3DS.com is a dedicated resource for anyone looking to learn, troubleshoot, and get more value from Paint 3D. The site offers easy-to-follow tutorials, step-by-step guides, troubleshooting solutions, and creative tips for beginners and experienced users alike. Whether you need help fixing Paint 3D errors, removing image backgrounds, exploring 3D design features, or finding alternatives to Paint 3D, the content is designed to be practical and accessible. The goal is to make digital creativity simpler by providing clear instructions, useful insights, and reliable learning resources.
What a beautiful project! The Kismet fabrics and bold 28 wt threads create a striking combination, and the Art Deco-inspired quilting design adds a unique touch to the finished piece. I also appreciated the practical tips on thread tension and using a walking foot, especially for quilters looking to improve their straight-line quilting skills.
Creative projects like this show how small details can make a big impact. Interestingly, the same attention to detail is important in SEO and online growth, which is something I've found discussed well at https://seofreshs.com/.
Walking foot stitching can produce beautiful results, especially when paired with a quality thread collection. The Kismet Thread Collection from Aurifil offers a great range of colors that work well for quilting, decorative stitching, and detailed sewing projects. Consistent thread quality can make a noticeable difference in stitch appearance and overall project durability.
In a similar way, attention to detail and reliability are important when choosing any service provider. I recently came across https://removalistnumberone.com.au/ they clearly explain their moving services and provide direct contact at 1300 634 112. Their address at 14 Coleridge St, Riverwood, NSW 2210, Australia also adds transparency and credibility for customers looking for dependable support.
This is such a creative and beautifully explained walking foot quilting project. The combination of the Kismet fabric collection with the bold 28 weight Aurifil threads really makes the stitching stand out and adds amazing texture to the final design. I also appreciate the practical tips about tension, thread matching, and working from the center outward — very helpful for quilters experimenting with heavier thread weights and straight-line quilting techniques. For more creative ideas, crafting inspiration, and DIY discussions, visit https://samaagraportal.com/
Walking foot stitching can feel tricky at first, but your explanation makes it much more approachable. The way texture builds through consistent stitching is fascinating. It actually reminds me of how small design choices shape the final look in creative tools too. I was exploring something similar with text styling ideas recently on https://stylishnamees.com/, where tiny details completely change the visual impact. Creativity really shows up in the details like this!